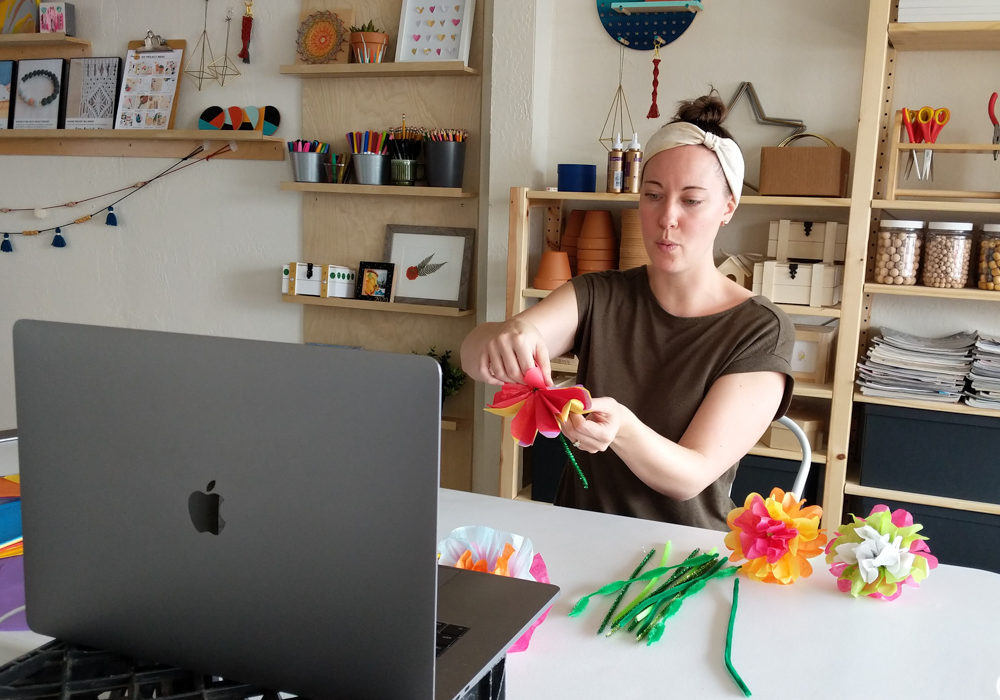
After a certain global scale medical event occurred, countless brick and mortar businesses were left trying to figure out how to pivot to accommodate a new purely online audience. Sunshine Craft Co, a creative workshop studio, was in a similar spot, needing to find a way to teach craft workshops online. In an incredible feat of foresight, shop owner Amy married a digital media producer for just this moment.
Amy had already begun teaching with a simple laptop setup but this was reaching its limitations. Our process for improving her content’s quality was iterative but for the sake of this post I’ll stick to explaining our final setup. You can read about some obstacles we came across on our way to a final kit here. This will be useful info for people who are just starting or those looking to learn more about some alternative setups that we moved beyond.
It’s All About Optics.
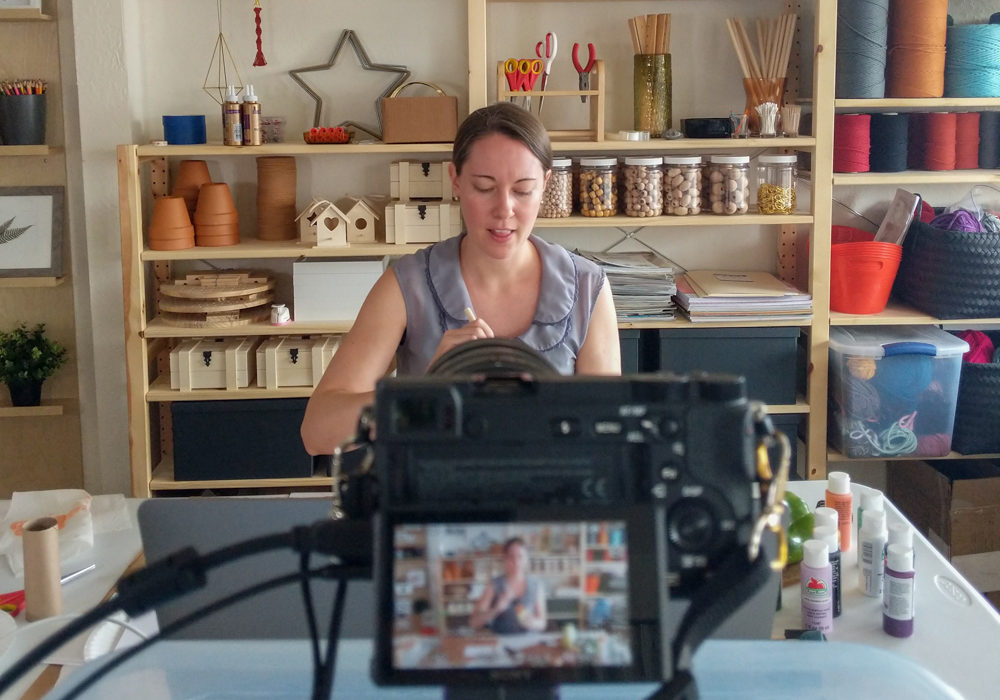
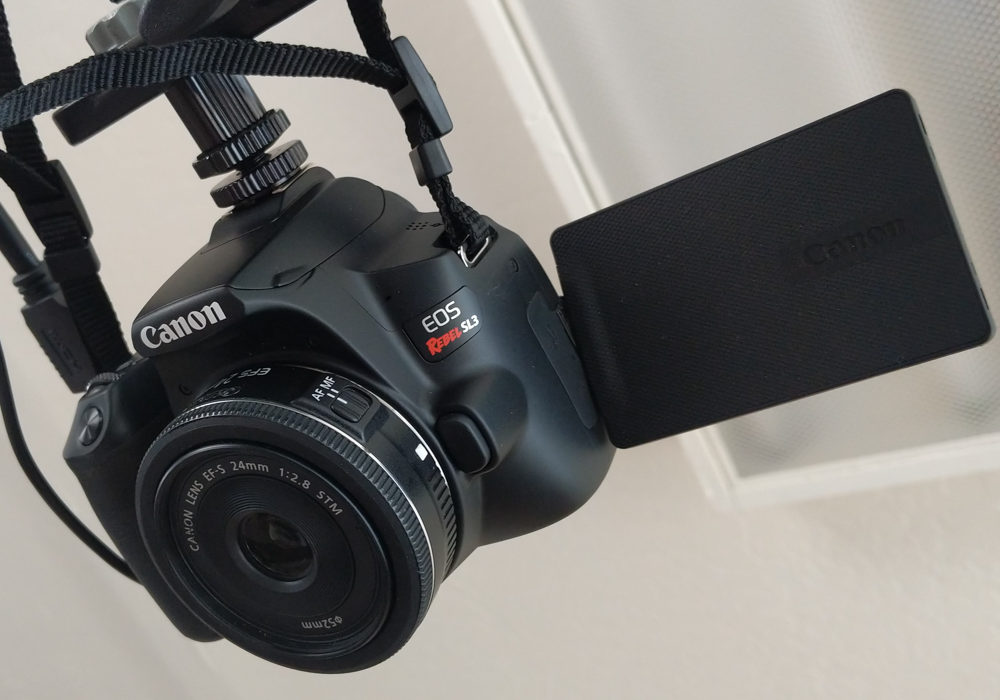
Our first step to improving the quality of Sunshine Craft Co’s live streams was to bypass the webcam that was built into the laptop. After a few variations on setup, we landed on using a Canon SL3 with 24mm pancake lens via USB (and Canon’s EOS Webcam Utility), later becoming our secondary camera for project closeups and overhead shots. It’s super light/easy to rig, has a mini HDMI port for sending 10-bit signal and is very well priced for what you get. The Canon 24mm pancake lens is also very versatile for normal photography and filming.
For reasons that you’ll read about below, we built Sunshine Craft Co’s streaming kit around 2 cameras. Our primary camera in this scenario is the Canon C500 mkII and admittedly WAY overkill for this function. But we have it, so why not use it. In any other scenario, I would simply recommend 2 Canon SL3’s with 24mm pancake lenses or 1 pancake, and one Sigma 18-35mm lens to have some variety at your disposal.
Let’s Talk About Lights (Baby).
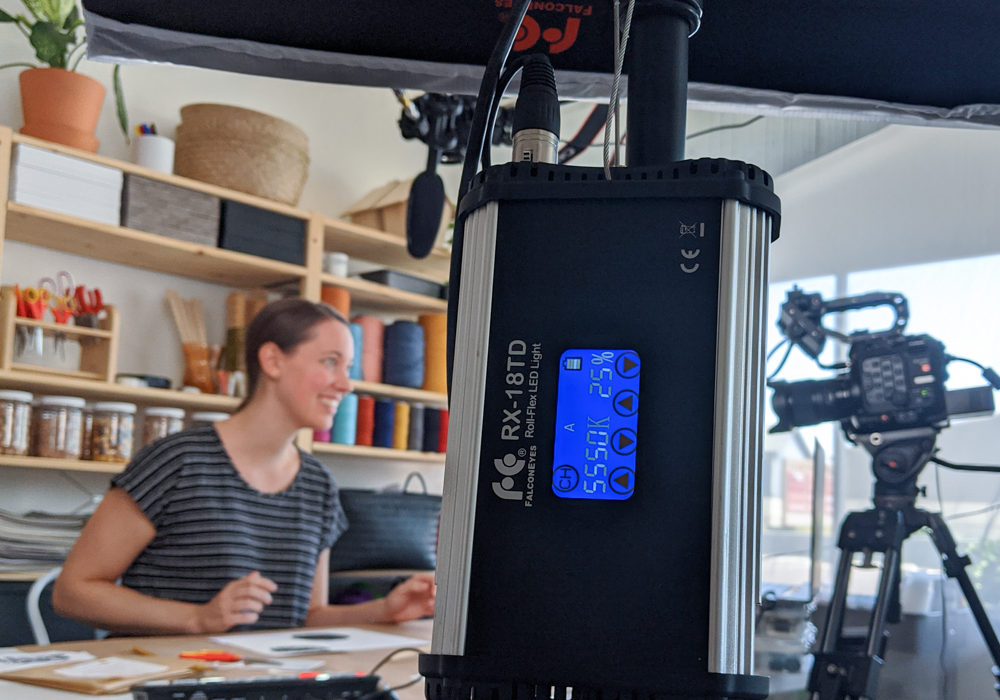
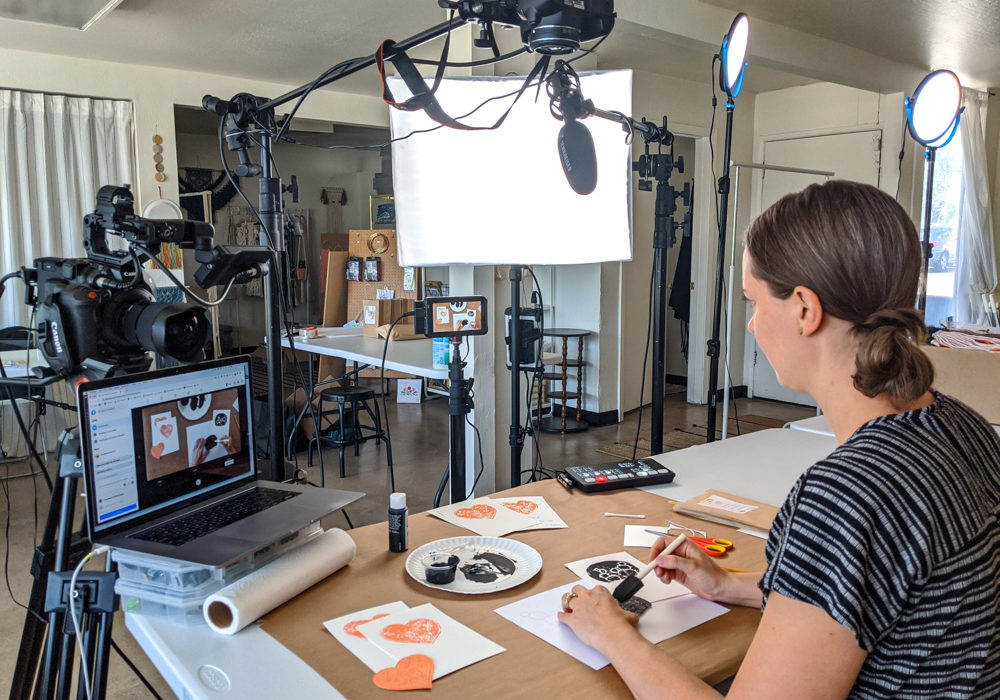
Sunshine Craft Co’s studio is just as you’d imagine it, bright and sunny. Soft sunlight is the easiest and quickest way to light your video if it’s available. If you have a bright light source, you can also use modifiers to enhance the look. We decided to hang a large ¼ stop scrim material across Amy’s front windows to soften the light just a touch. Then, we used a Falcon Eyes RX-18TD at 25% power to compensate on the shadowy side of her face and projects while filming.
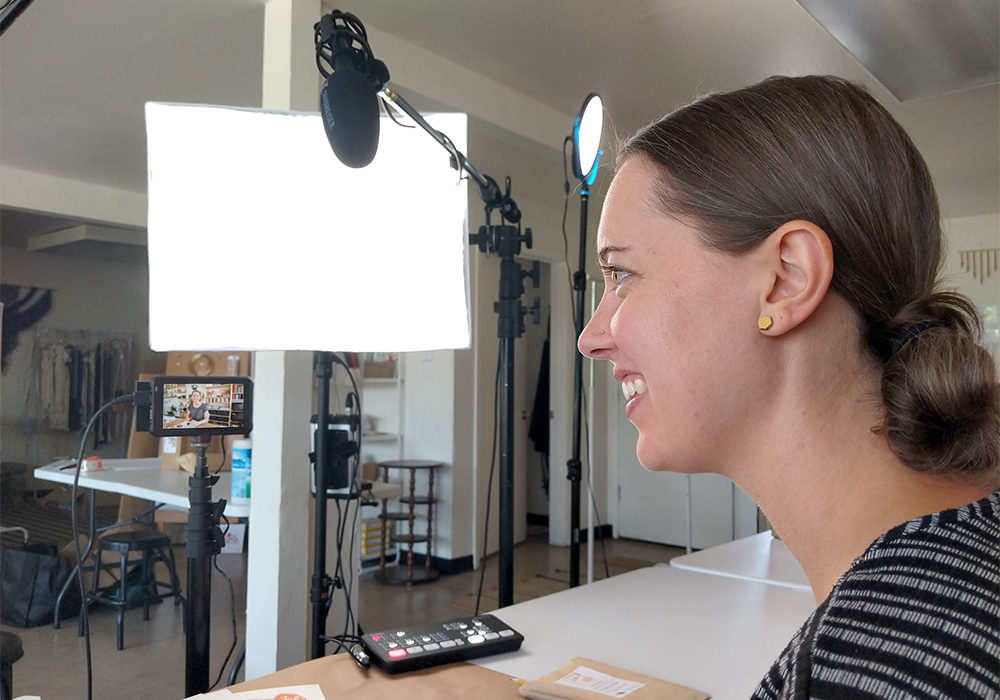
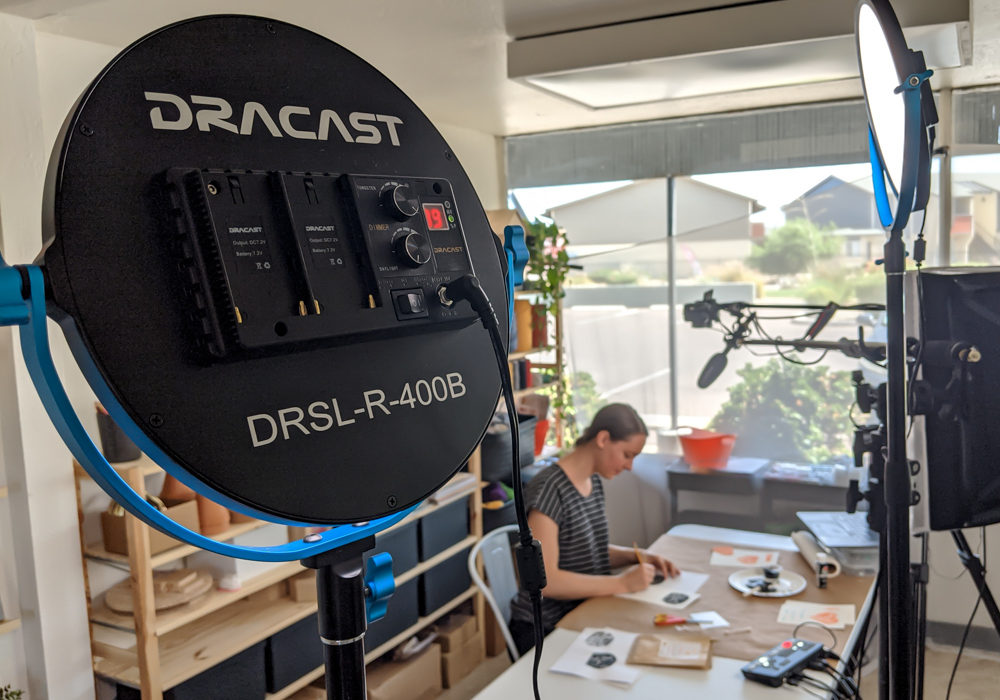
We’re also using 2 Dracast DRSL-R-400Bs to add touches of light to the background. These are great for portable streaming kits and lighting on-camera talent in smaller spaces. They run off of ac or battery power so they are truly great for on the go or quick experimentation with looks without needing to drag around a power cable.
Change of Perspective.
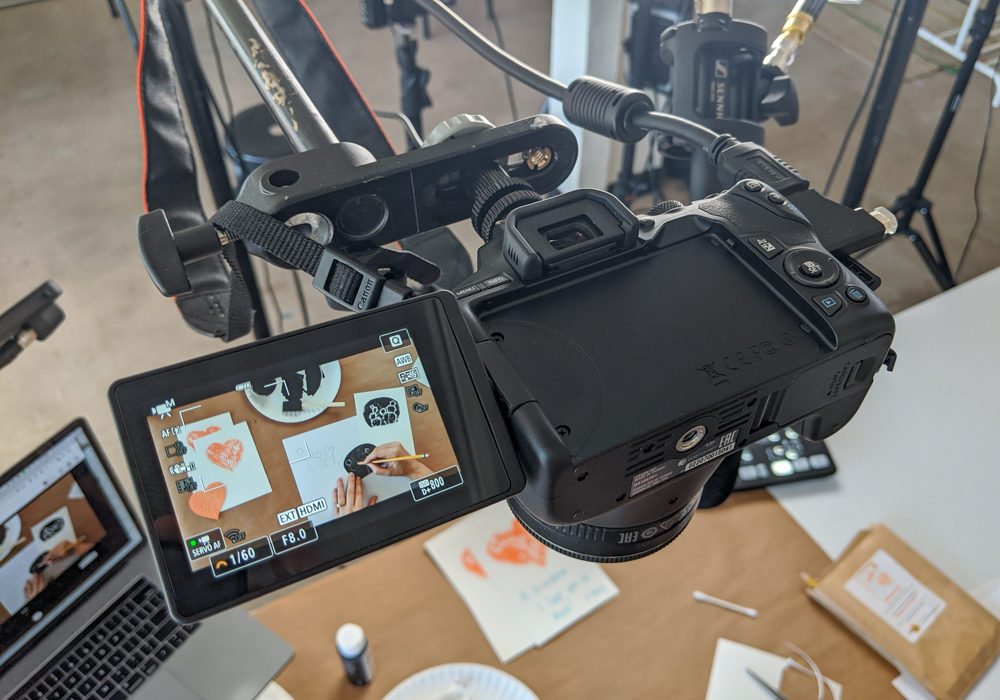
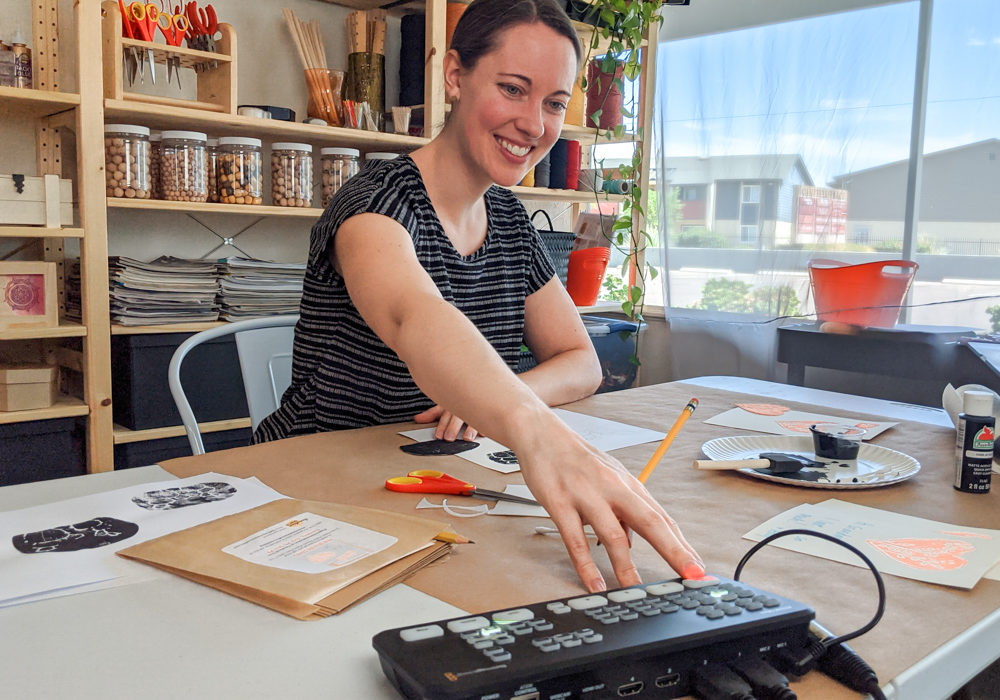
The next improvement Sunshine Craft Co owner Amy Guerrero wanted to prioritize was being able to switch camera view from the host of the live stream to the projects she was working on. If you’re pre-recording, you can easily cut, move your camera to the next position and resume recording but there really is no time for that on a live stream when you’re trying to retain your audience. We would need to utilize multiple cameras that we could switch between.

Enter the Black Magic Mini ATEM Switcher. A lovely little piece of tech that took 4 months to arrive, allows you to incorporate up to 4 cameras or hdmi video feeds (laptops, dvd players, streaming devices, etc) and 2 microphones (we’re using a Sennheiser MKE600 boom mic), into 1 source that your computer recognizes as a webcam. Switching cameras is done with the push of a button and you can easily swap between straight cuts, slides or cross fade transitions.
I’m not going to detail everything this mixer can do, but one of the most valuable features of this device has been it’s HDMI out port. Using an Atomos Ninja V, we’ve been able to monitor the feed while simultaneously recording it. Web call interfaces like Zoom allow you to record your call, but it provides you with a compressed video that diminishes your image quality. By capturing the video prior to sending it over the internet, you’ll end up with a prettier picture and a recording of your camera streams that does not include your audience/call participants.
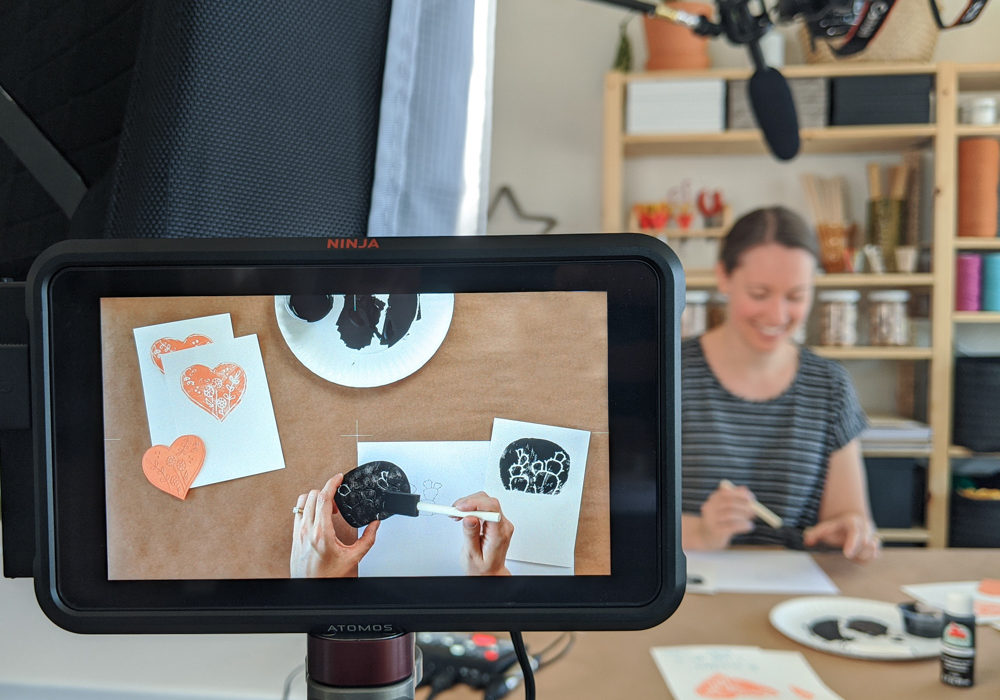
Once broadcast, you’ll have a high resolution version of the live stream that’s ready for upload to other platforms, further editing, or archiving. Upload it to YouTube and Facebook, or simply take excerpts to promote your next live event over social media. Even if you’re not streaming live, the ATEM Mini Switcher and Ninja V recorder combo will save you loads of time in post production by allowing you to edit your videos between multiple cameras on the fly.
As a side note, if you want to skip the monitor but still be able to record your sessions, for a few hundred dollars more (3 to be exact), you can purchase the ATEM Mini Pro Switcher, which allows you to connect a hard drive to it for saving recordings.
No matter where you are with your streaming, a few key pieces of equipment can truly elevate your final product and user experience. Take it at your own pace and add the next piece as you see fit. I hope you can use what you’ve learned here to engage your social media audience, generate buzz, and attract more participants.
*Some additional notes: if your live stream video looks unusually bad, you’ll want to check your internet speed. Most streaming platforms will throttle your quality based on your bandwidth. We recommend having at least 4mbps upload speeds for reasonable quality video. Also, the majority of our evolving setups were built around a Macbook Pro laptop. With either Mac or PC, I recommend at least 12gb of ram and a video card with at least 2gb of memory.
Not every single piece of equipment we’re using is listed here but some other equipment you’ll likely need if you’re a beginner are tripods, lighting stands, a few cables (hdmi/usb) and potentially some bits of rigging equipment for overhead shots. Godspeed!
Pixel Thick is a Phoenix, AZ based video production company. Contact us for any streaming kit rental needs.